

What Happens to Your North Texas Lawn in the Month After Sod Installation
What Happens to Your North Texas Lawn in the Month After Sod Installation
Most homeowners understand, at a general level, that newly installed sod needs to be watered and allowed to establish before it can be treated like a mature lawn. What most do not have is the specific, week-by-week picture of what the sod is biologically doing during that establishment period — and what the homeowner needs to do or avoid at each stage to support the process rather than interrupt it.
The month after sod installation is the period that most determines whether the investment produces the long-term result the homeowner invested in or whether it requires costly supplemental restoration work within the first season. The correct management through this period is not complicated, but it requires specific timing and specific actions that are distinct from normal mature-lawn care.
This blog is a detailed guide to what happens in North Texas sod during the first four weeks after installation — and what Lone Star Mow Co communicates to every homeowner whose property receives a sod installation from us.
Week One: Root Contact and Moisture Management
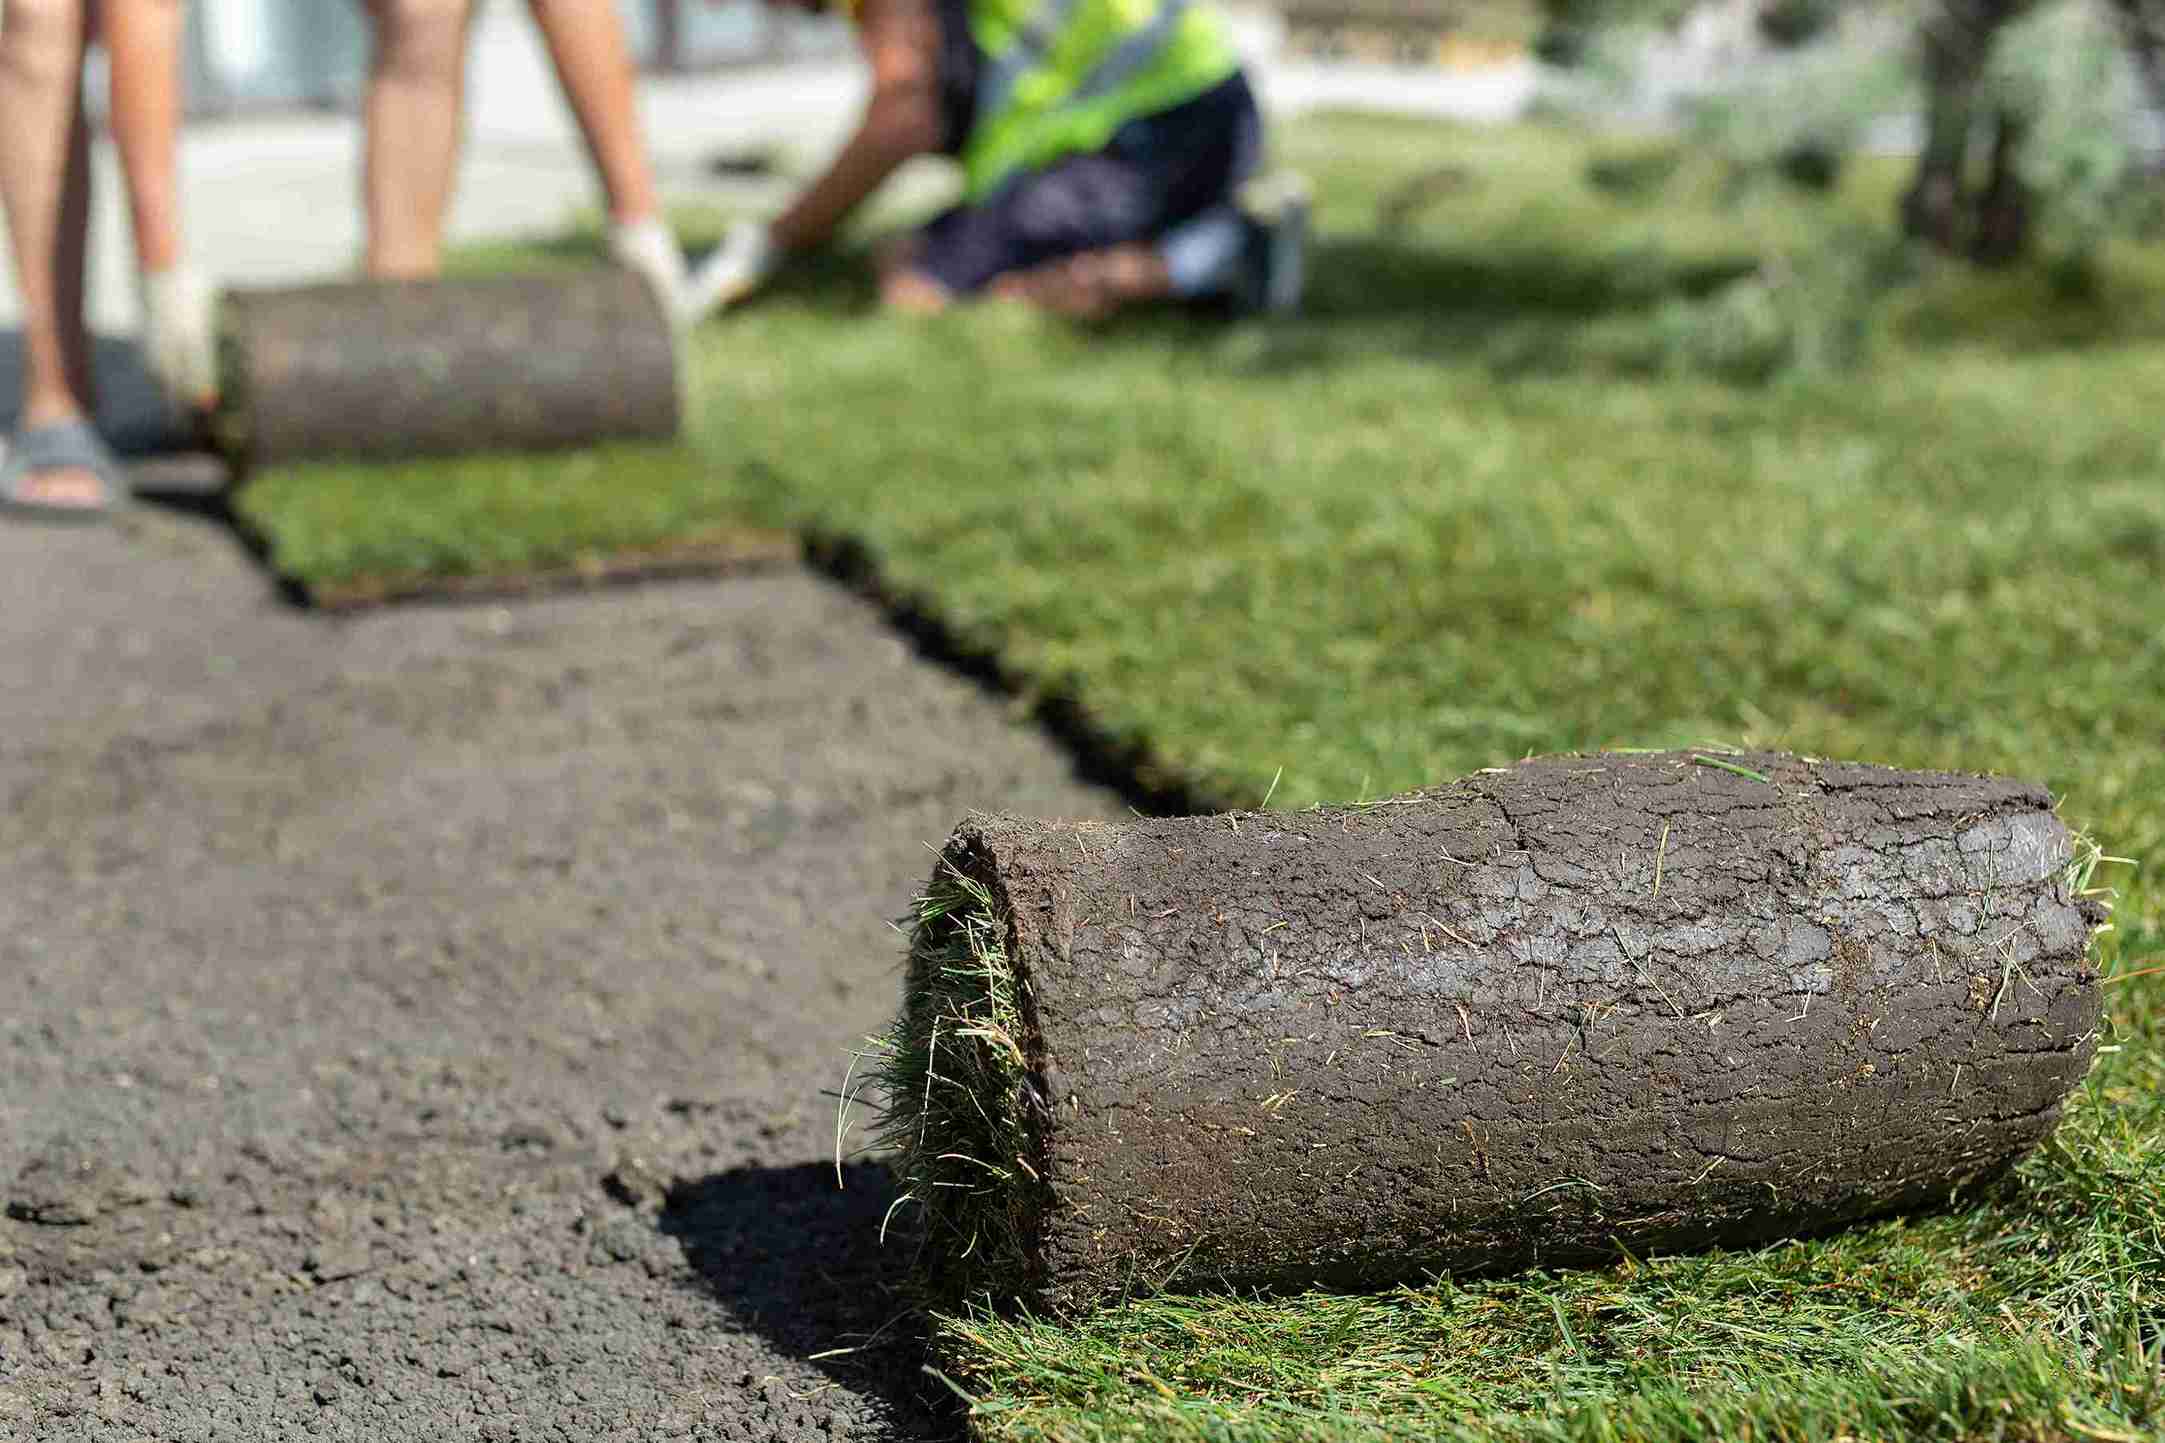
The first week after sod installation is entirely about one biological process: the new sod developing root contact with the prepared soil below it.
When sod is cut from the sod farm and transported to the installation site, it arrives with a thin layer of established roots from the farm soil attached to the bottom of the sod section. These roots are alive and viable, but they need to establish new contact with the soil in the installation site — not just rest on top of it — before the sod can access the moisture and nutrients in the new soil that will sustain it going forward.
During week one, the sod is surviving primarily on the moisture stored in its own tissue and in the thin farm soil layer that came with it. It is not yet drawing moisture from the installation site soil in meaningful quantities. This creates the most critical irrigation window of the establishment period: the sod needs to be kept consistently moist — not saturated, but never allowed to dry out — because it has no ability yet to recover moisture from the soil below it if it desiccates.
The irrigation prescription for week one is daily irrigation — sometimes twice daily in hot, sunny, or windy conditions — that keeps the sod surface consistently moist to the touch when pressed. The goal is not deep watering at this stage. The sod is too shallow in its rooting to benefit from deep applications — the goal is surface moisture maintenance that prevents desiccation before root contact is established.
In North Texas summer installations, this twice-daily irrigation requirement is genuine and necessary. The combination of high temperatures, strong afternoon sun, and low humidity creates evaporative conditions that can desiccate newly installed sod in the afternoon hours before the evening irrigation event if only once-daily irrigation is provided.
What to avoid in week one: Foot traffic on the new sod. The new sod has no root anchorage in the installation soil — it is essentially a surface mat of grass over prepared ground. Walking on it during this period disrupts the soil-to-root contact that is forming and potentially creates the air gaps and lifted sections that prevent establishment in the disturbed areas. Keep all traffic — people, pets, and equipment — off the new sod for the first two weeks if at all possible.
Week Two: Root Establishment Begins
By the end of week one and into week two, the new roots are beginning to penetrate the installation soil — growing down from the sod's root system into the prepared soil below. The sod is starting to anchor itself.
The visible test for initial root establishment is the tug test: grasp a corner of a sod section and gently pull upward. In week one, the sod lifts without resistance because there is no root penetration yet. In week two, you should begin to feel resistance as the emerging roots hold the sod to the soil surface. By the end of week two in properly irrigated, well-prepared soil, the sod should resist being easily lifted — which confirms that root contact is genuinely occurring.
The irrigation prescription for week two transitions from twice-daily toward once-daily as root contact develops. The goal begins shifting from surface moisture maintenance toward slightly deeper water penetration — encouraging roots to extend downward by providing moisture at slightly greater depth rather than only at the surface.
The tug test guides this transition: if the sod is showing good root contact (resistance to lifting), move toward once-daily deep watering. If the sod still lifts easily in sections, maintain the more frequent application until better root contact is confirmed.
What to avoid in week two: Still no mowing. The sod is not ready for the mechanical stress of mowing during week two regardless of how tall it has grown. Mowing a newly established sod installation that has not yet fully rooted pulls sections of sod from the soil, disrupts the root contact forming in adjacent sections, and can create the bare patches and lifting problems that require reinstallation to correct. Wait.
Week Three: Transition to Normal Irrigation
Week three marks the transition point where — in properly established sod with good root contact confirmed by the tug test — the irrigation program begins shifting toward the deep, infrequent approach appropriate for mature turf.
The goal of irrigation through week three is to begin driving roots deeper into the soil profile rather than simply maintaining surface moisture. Reduce irrigation frequency to every other day, but increase the volume per session to deliver moisture to four to six inches of soil depth rather than just the surface two to three inches. This transition encourages the roots that have now established initial soil contact to continue extending downward — building the root depth that determines the new lawn's long-term drought tolerance.
By the end of week three, the majority of the sod surface should be firmly anchored. Individual sections that still feel loose or that the tug test reveals are not well anchored indicate problem areas where soil contact did not establish correctly — these may require assessment of whether the underlying soil preparation was adequate in those specific zones.
The first mowing — the most eagerly anticipated moment for most homeowners — is appropriate in week three for most North Texas sod installations when root contact is confirmed across the full installation area. The critical rule for the first mowing: set the mower height to one full setting higher than the intended normal mowing height for the grass type. Bermuda would normally be mowed at one to two inches — mow the first cut at two to two and a half inches. St. Augustine would normally be maintained at three to four inches — mow the first cut at four inches. This conservative first cut avoids the aggressive soil-level contact that occurs with a very low first mowing pass on newly established turf.
Bag the clippings from the first mowing rather than allowing them to lay on the new surface — the clippings from an initial growth flush can be heavy enough to smother the new turf if left unmanaged.
Week Four: Normal Maintenance Begins
By the end of week four, correctly established North Texas sod has transitioned from a new installation to an established lawn that can be maintained on normal protocols. The irrigation program has shifted to the deep, infrequent approach — one inch per week for Bermuda, one and a half inches for St. Augustine, delivered in two to three sessions per week. Mowing has resumed on a regular schedule at the correct height for the grass type. The sod that arrived as a series of flat sections laid over prepared soil has become a continuous, rooted lawn surface that moves and responds to environmental conditions as an integrated system.
What Lone Star Mow Co provides after sod installation: For all sod installations we complete, we provide specific post-installation guidance tailored to the grass type installed, the season of installation, and the specific site conditions of the property. We specify the week-by-week irrigation approach, the first mowing timing guidance, and the ongoing maintenance protocols appropriate for the new lawn as it transitions into normal service.
For clients on our maintenance program, the sod installation visit is followed by the regular weekly maintenance schedule that begins at the appropriate transition point in week three or four — ensuring that the new lawn enters its maintained phase with the professional service that builds the density and root depth that protect the installation investment.

Just had sod installed — or planning a sod installation on your North Texas property?
Lone Star Mow Co provides complete sod installation with detailed post-installation guidance, and seamless transition to professional weekly maintenance. Serving Keller, Southlake, Haslet, Saginaw, Roanoke, and Trophy Club. Schedule your free consultation today.

Ready to Transform Your property?

Find Us On


